Generate AI powered video from image and upload it on Go
This workflow automates the process of generating AI-powered video from image and then generates a video that is uploaded to Google Drive. This workflow is a...
🔌 Nodes & Integrations Used (3)
📖 Implementation & Setup Guide
This workflow automates the process of generating **AI-powered video from image** and then generates a video that is uploaded to **Google Drive**.
This workflow is a powerful tool for automating the creation of AI-generated videos from images, saving time and ensuring a seamless process from input to final output.
Below is a breakdown of the workflow:
---
#### **1. How It Works** The workflow is designed to create videos from images using AI and manage the generated content. Here's how it works:
- **Form Submission**:
- - The workflow starts with a **Form Trigger** node, where users submit a form with the following fields:
- - **Description**: The text description for the video.
- - **Duration (in seconds)**: The length of the video.
- - **Aspect Ratio**: The aspect ratio of the video (e.g., 16:9, 9:16, 1:1).
- - **Image URL**: The URL of the image to be used for video generation.
2. **Set Data**: - The **Set Data** node organizes the form inputs into a structured format for further processing.
3. **Create Video**: - The **Create Video** node sends a POST request to generate the video. - The request includes the description, image URL, duration, and aspect ratio.
4. **Wait and Check Status**: - The **Wait 60 sec.** node pauses the workflow for 60 seconds to allow the video generation process to complete. - The **Get Status** node checks the status of the video generation by querying the API.
5. **Completed?**: - The **Completed?** node checks if the video generation is complete. If not, the workflow loops back to wait and check again.
6. **Retrieve and Upload Video**: - Once the video is generated, the **Get Url Video** node retrieves the video URL. - The **Get File Video** node downloads the video file. - The **Upload Video** node uploads the video to a specified folder in **Google Drive**.
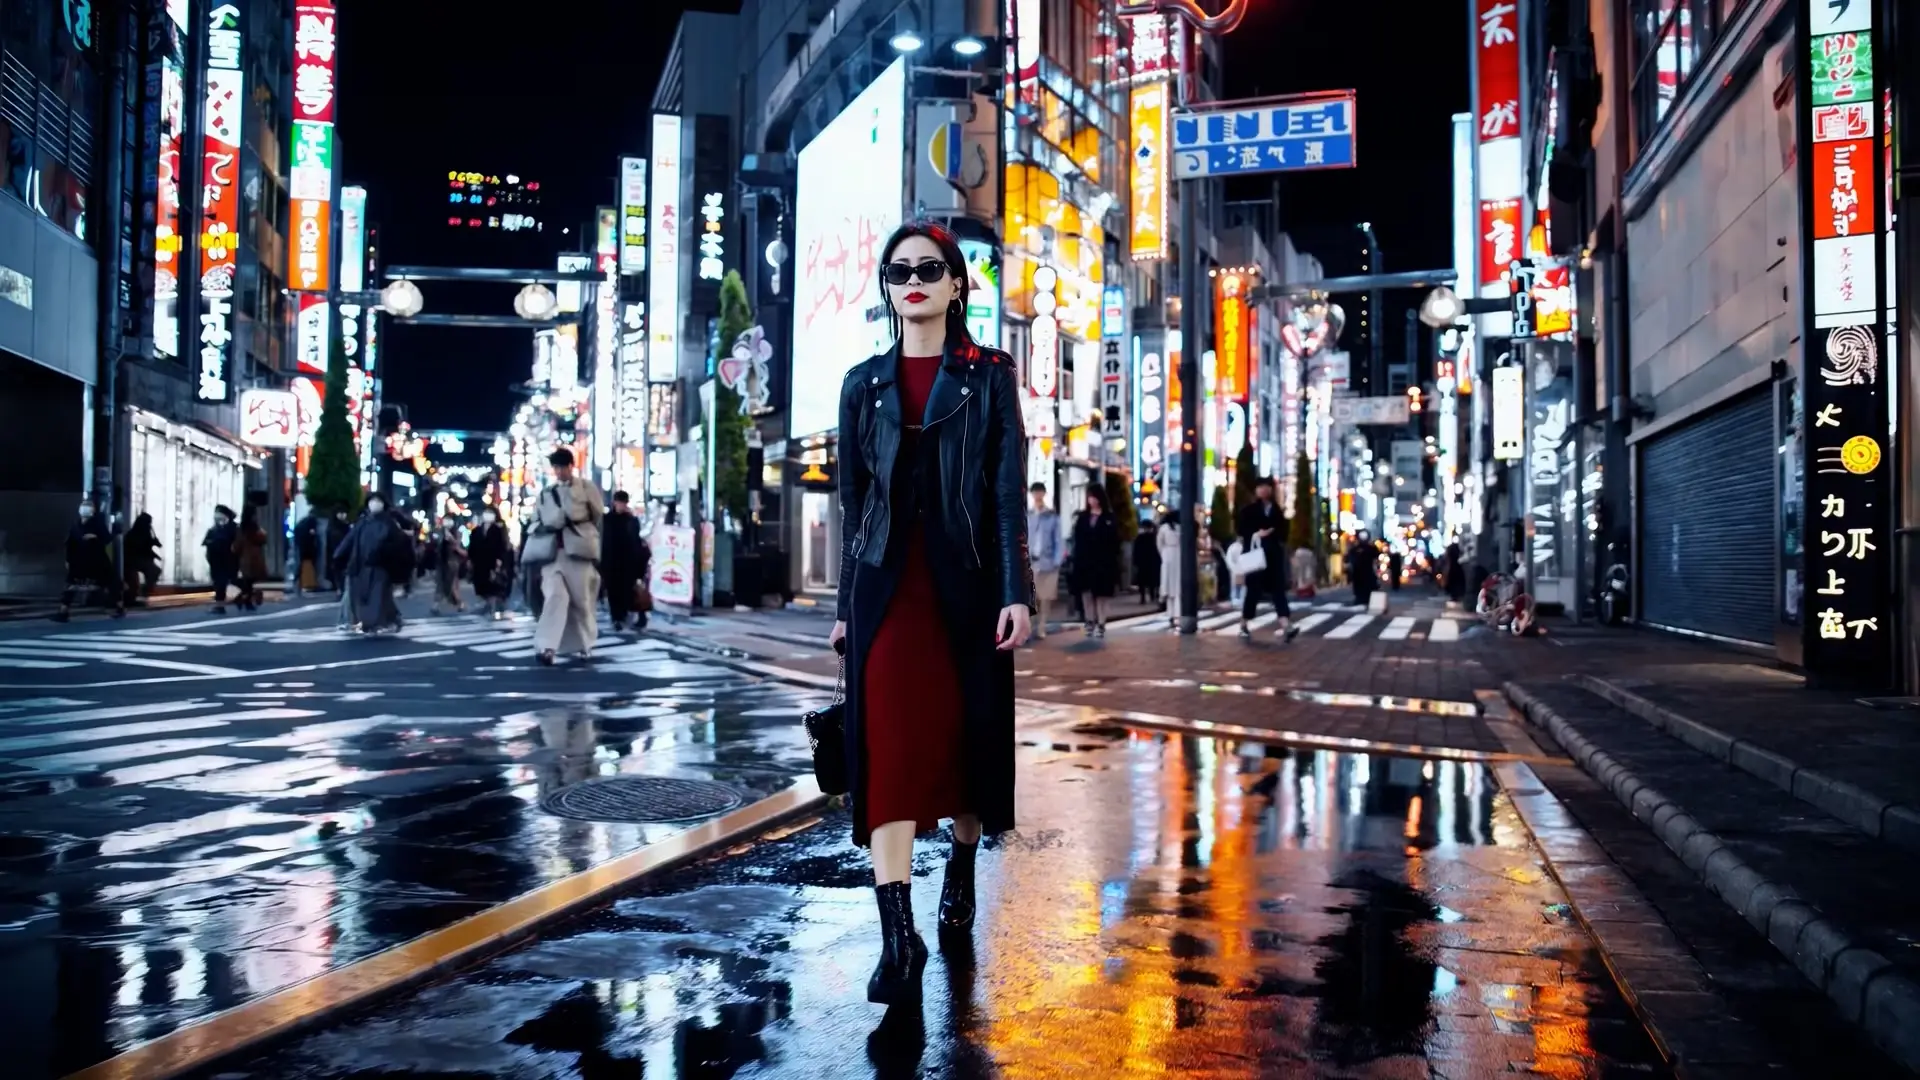
[Watch the resulting video](https://n3wstorage.b-cdn.net/n3witalia/imagetovideo_output.mp4)
---
#### **2. Set Up Steps** To set up and use this workflow in n8n, follow these steps:
- **API Key**:
- - Create an account on account and obtain your **API Key**.
- - In the **Create Video** node, set up **HTTP Header Authentication**:
- - **Name**: `Authorization`
- - **Value**: `Key YOURAPIKEY`
2. **Google Drive Integration**: - Set up **Google Drive** credentials in n8n for the **Upload Video** node. - Specify the folder ID in Google Drive where the generated videos will be uploaded.
3. **Form Configuration**: - The **Form Trigger** node is pre-configured with fields for: - **Description**: The text description for the video. - **Duration (in seconds)**: The length of the video. - **Aspect Ratio**: Choose between 16:9, 9:16, or 1:1. - **Image URL**: The URL of the image to be used for video generation. - Customize the form fields if needed.
4. **Test the Workflow**: - Submit the form with the required details (description, duration, aspect ratio, and image URL). - The workflow will: - Generate the video using the API. - Check the status until the video is ready. - Upload the video to Google Drive.
5. **Optional Customization**: - Modify the workflow to include additional features, such as: - Adding more aspect ratio options. - Sending notifications when the video is ready. - Integrating with other storage services (e.g., Dropbox, AWS S3).
⚡ How to import this workflow into n8n:
- Click the Direct Download JSON button above to save
Generate_AI_powered_video_from_image_and_upload_it_on_Go.json. - Log in to your n8n Cloud or self-hosted n8n instance.
- In your workflow canvas, click the menu in top-right and select Import from File (or paste the JSON directly).
- Configure your credentials (e.g. API keys, database URLs) in the corresponding node settings.
- Click Execute Workflow to test and switch to Active!
Related Video & Media Workflows
View All in Video & Media →3-View Orthographic to Dynamic Video Converter
Production-ready n8n automation template for 3-View Orthographic to Dynamic Video Converter built by AhiXLight. Seamlessly connects HTTP Request with 13 configured nodes.
360 Virtual Try-on Video Generator
Production-ready n8n automation template for 360 Virtual Try-on Video Generator built by AhiXLight. Seamlessly connects HTTP Request with 16 configured nodes.
3D Model to Spinning Video Generator
Production-ready n8n automation template for 3D Model to Spinning Video Generator built by AhiXLight. Seamlessly connects HTTP Request with 15 configured nodes.
AI Motion Illustration Video Generator
Production-ready n8n automation template for AI Motion Illustration Video Generator built by AhiXLight. Seamlessly connects HTTP Request with 13 configured nodes.